How to Enable and Configure the Barcode Scanning Module on Android POS Terminals?
Jan 05, 2026
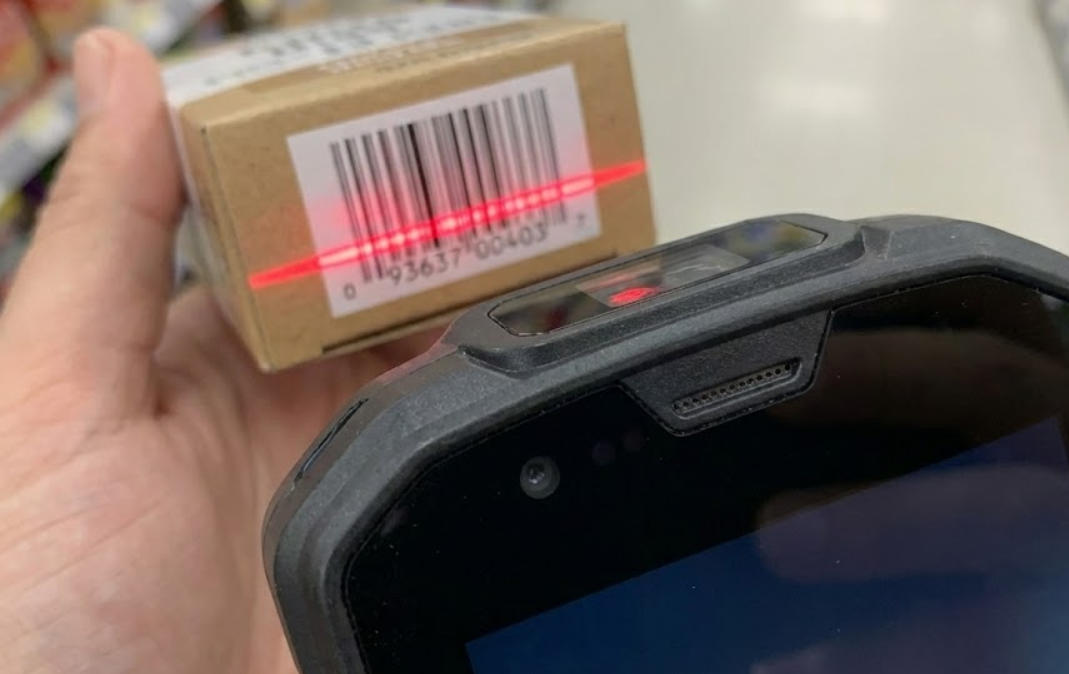
Nothing is more frustrating than unboxing a powerful new piece of hardware (like an Aonpostech handheld terminal) only to find that the barcode scanner can't “communicate” with your software.
The good news? This is rarely a hardware failure. In most cases, the scanning module simply needs to be “woken up” and told how to send data to your application. Here's how to get it set up in just a few minutes.
1. Find the “secret” scanning application
On a regular smartphone, you can use the camera. But on a professional Android POS machine, the barcode scanning engine is a separate piece of hardware. You won't find the option to control it in the standard Android “Settings” gear icon.
Instead, look for a pre-installed application in your app drawer. Its name is usually something like “Scanner,” “Scan Demo,” or “Barcode Input.” On Aonpostech devices, this app is your control center. Open it, and you'll likely see a large switch labeled “Enable Scanner.” Switch it to the “On” position.
2. “Keyboard Wedge” technique
Most people get stuck here. You scan the barcode, the laser fires, you hear a beep… but nothing happens on the screen.
This is because the scanner is sending data, but your POS software isn't “receiving” it. To fix this, find the “Output Mode” in your scanner settings and change it to “Keyboard Wedge” (sometimes also called “Keyboard Emulation”).
The principle behind this is that it deceives the Android system into believing the scanner is a physical keyboard. When scanning a barcode, the device immediately “inputs” the numbers into the active text box. It is compatible with almost all web-based or third-party POS applications on the market.
3. Formatting data (pressing the “Enter” key)
In the retail industry, efficiency is crucial. You certainly don't want to have to manually click the “Confirm” button on the screen for each item after scanning its barcode.
In the scanner settings, find the “Terminator” or “Suffix” option and set it to CRLF or Enter. This way, every time you scan an item, the system will automatically “press the Enter key” for you, directly moving to the next item.
4. Troubleshooting: When the laser does not emit
If the software is enabled but the scanner still does not light up, please check the following three things:
Power-saving mode: When the battery level is below 15%, the Android system will automatically cut off power to “extra” hardware. Please plug in the power supply and try again.
App permissions: Ensure that the scanner app has permission to access system hardware.
Conflict: If you have two different scanning applications installed, they may compete for control. Please stick with the factory-default Aonpostech utility.
Frequently Asked Questions
Q: Can my Aonpostech device scan QR codes or regular barcodes?Most modern Aonpostech terminals utilize 2D imaging technology. Unlike traditional laser scanners that can only read lines, these imagers can read QR codes, PDF417, and even damaged or blurry labels. Simply ensure that “2D barcode recognition” is enabled in the settings.
Q: My scanner is too loud. Can I turn off the beeping sound?Yes. In the scanner utility application, look for “Notifications” or “Feedback” settings. You can turn off the beeping sound, or, if you are working in a quiet environment, you can switch it to vibrate-only mode.
Q: Why can the scanner read the barcode, but the displayed numbers look incorrect?This is usually a “character encoding” problem. Please check your settings and make sure they are set to UTF-8. If you are scanning international products, some default settings may incorrectly interpret certain characters.
Q: Can this scanner work with my web browser?Absolutely. Simply enable keyboard wedge mode, open Chrome or any other browser, click on the search bar, and then scan. The data will appear instantly.